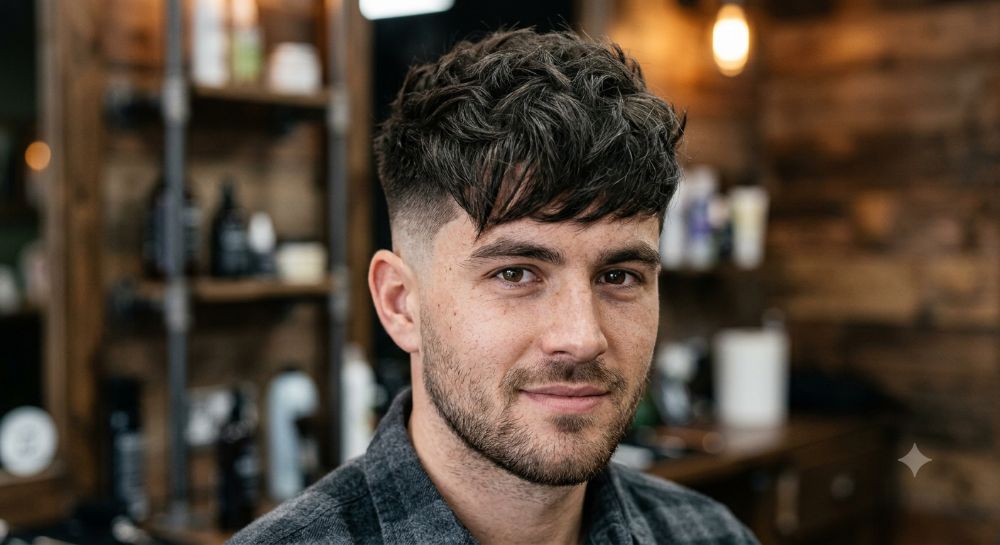
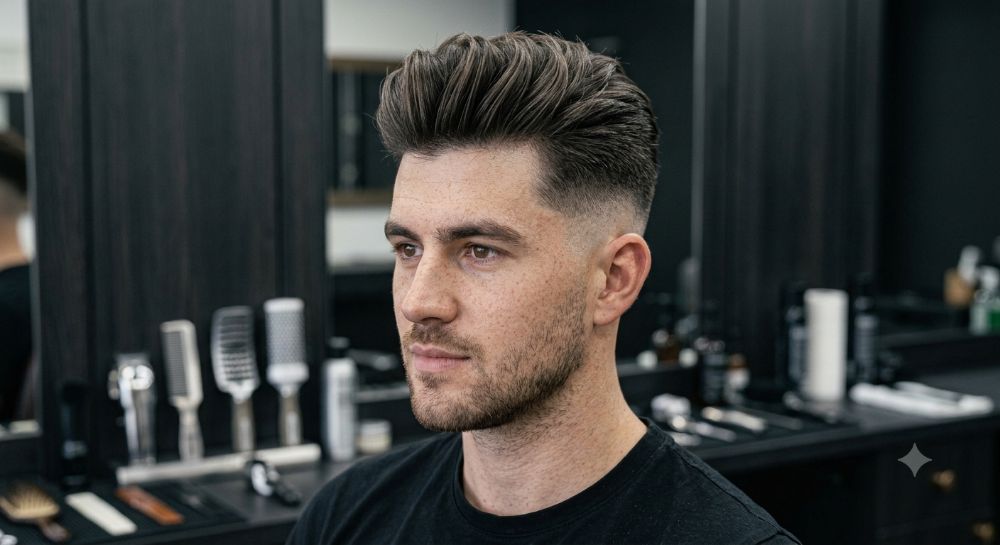
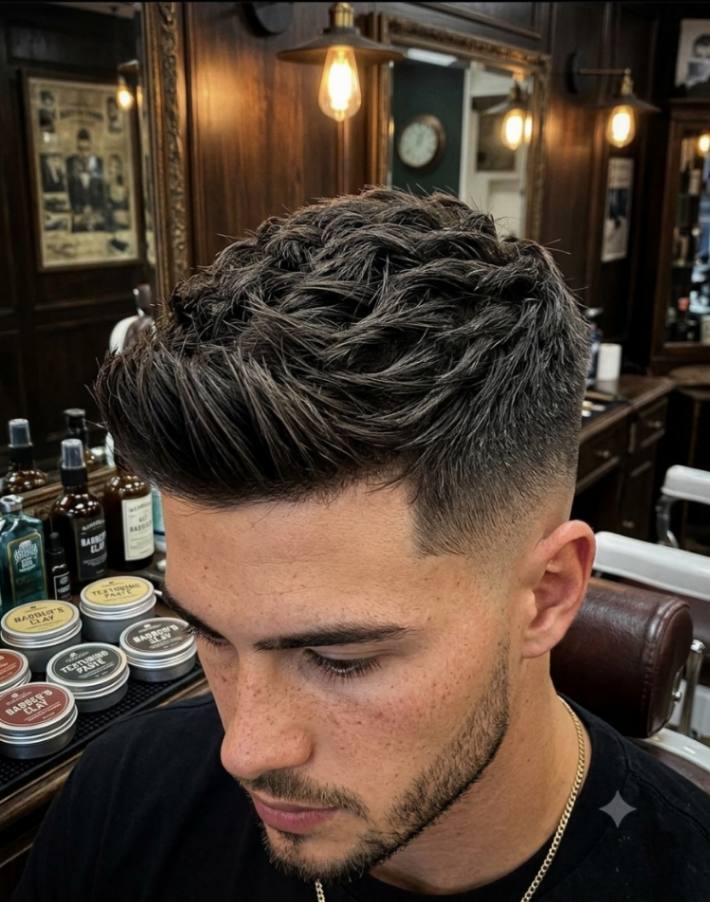
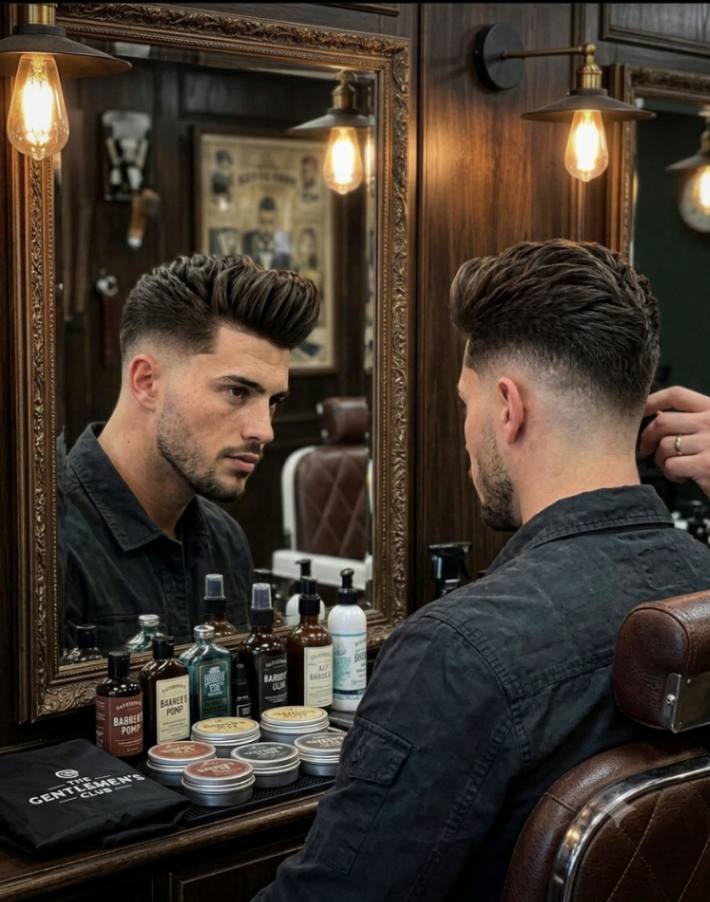
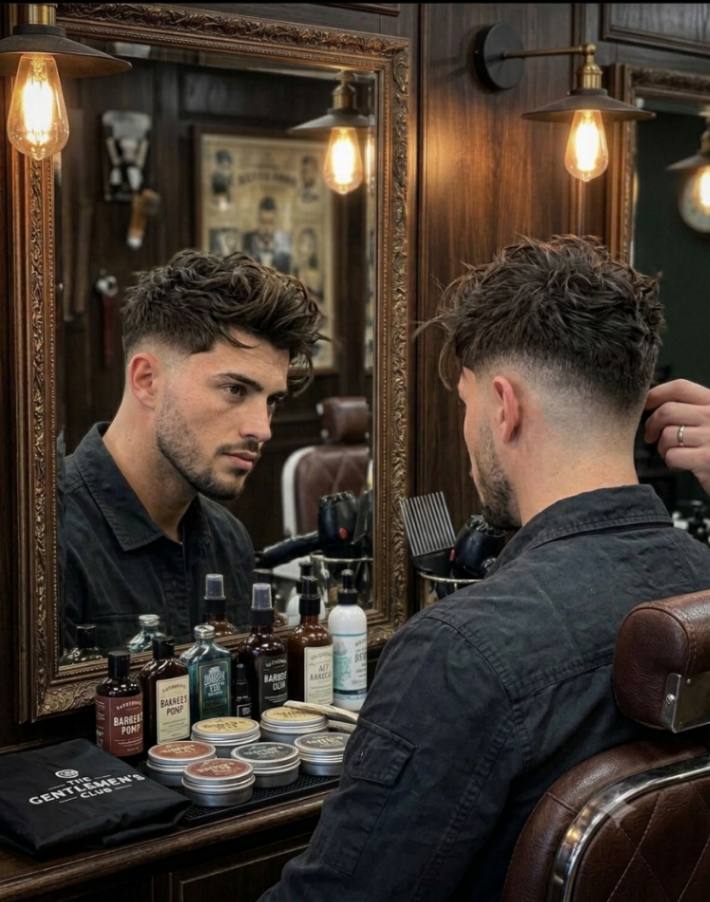
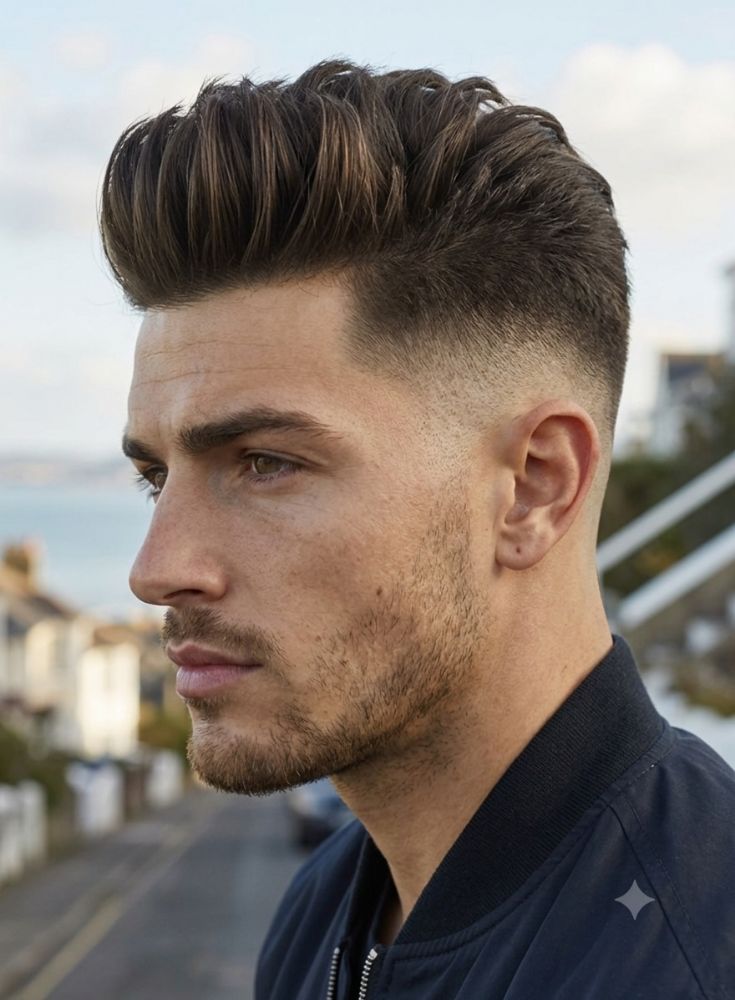
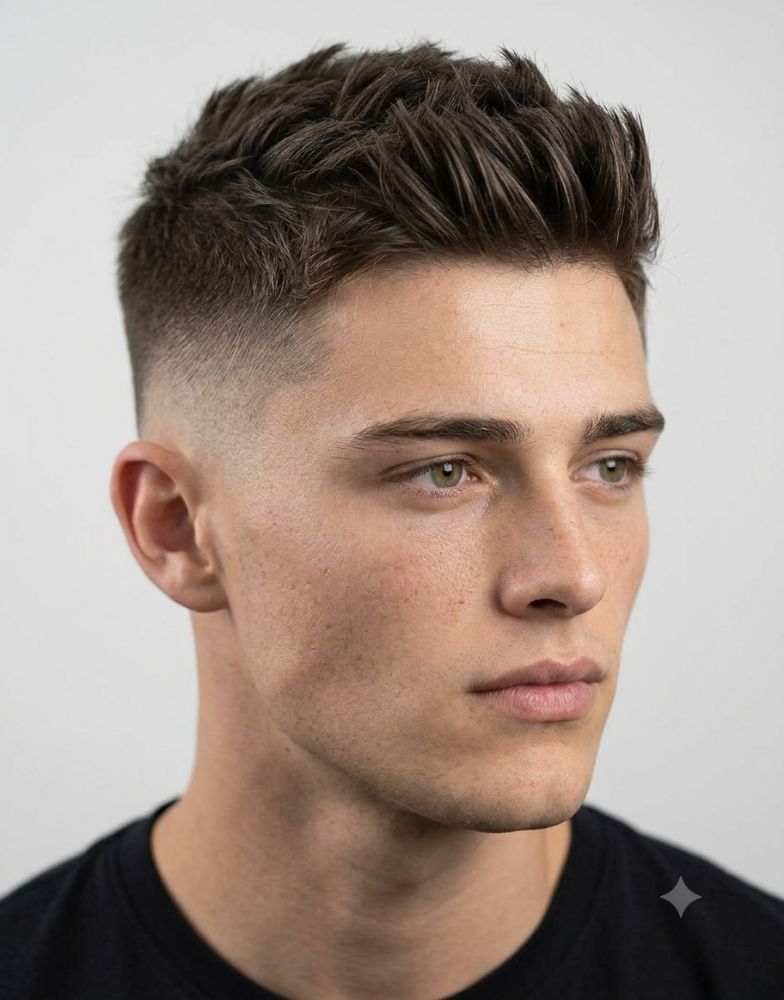
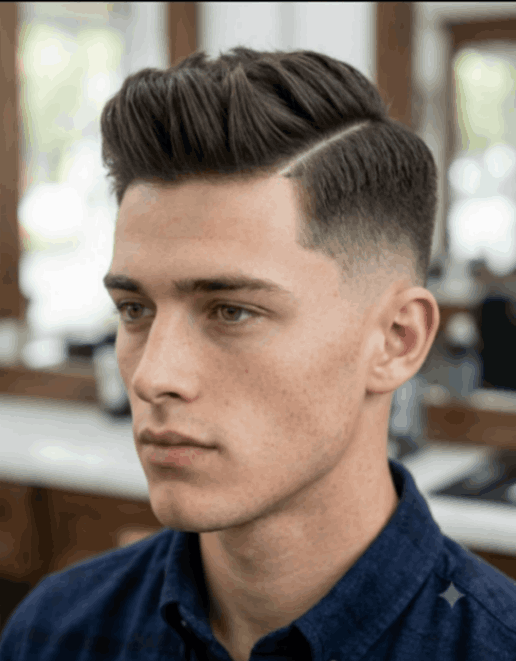
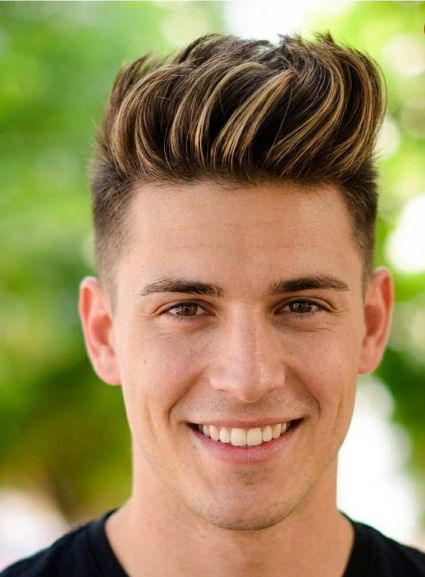
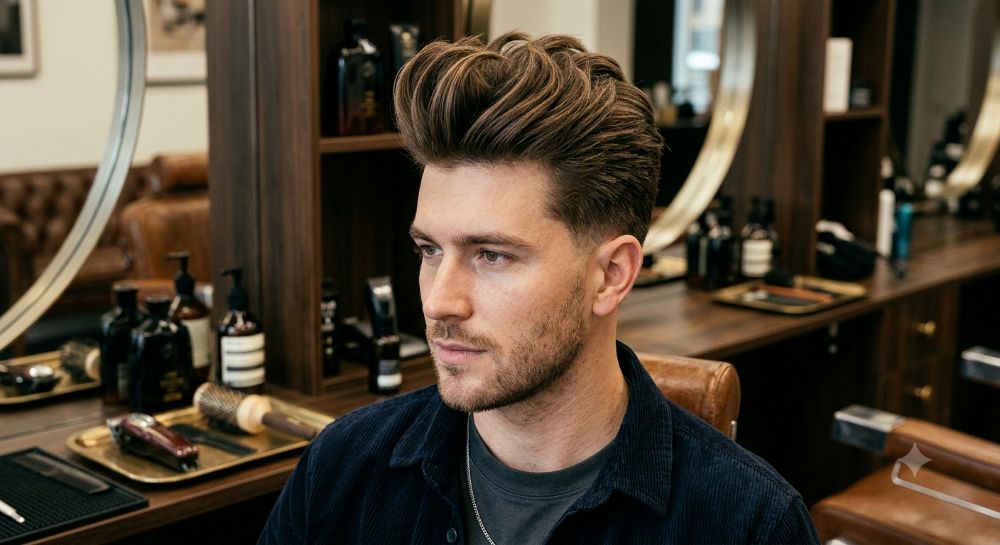
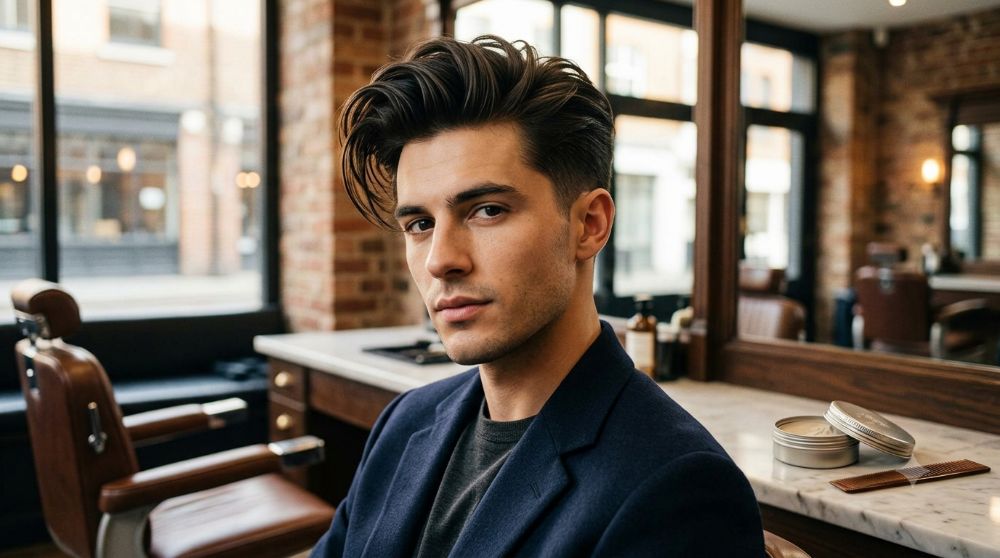
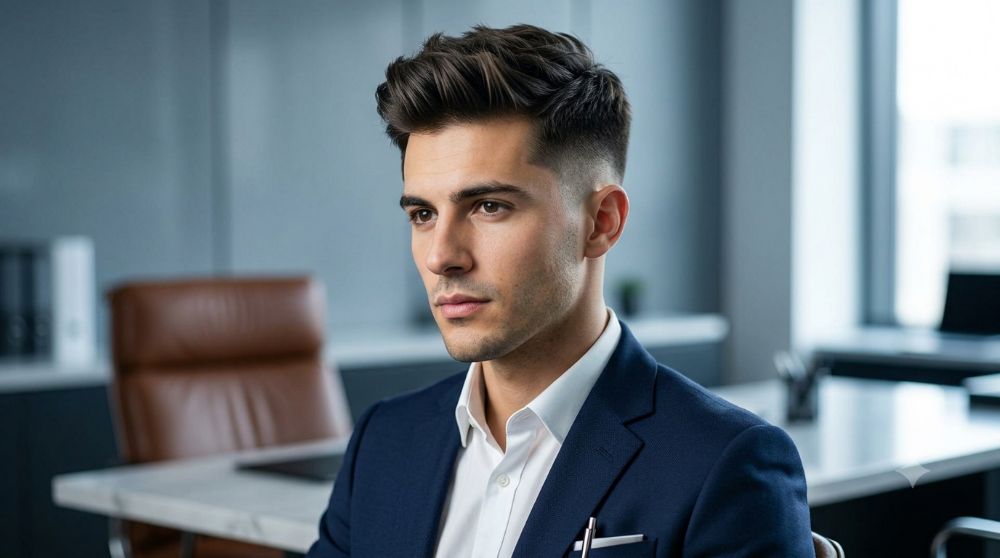
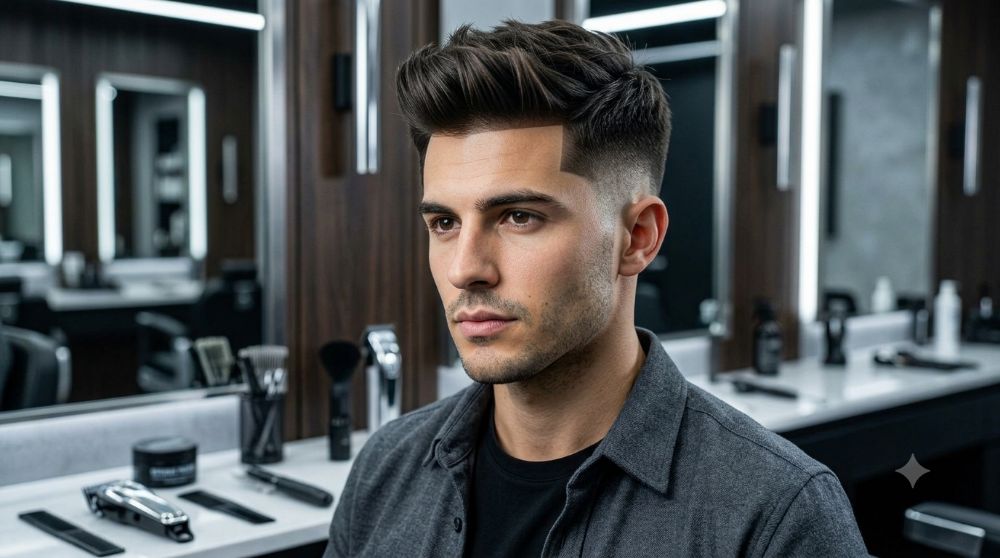
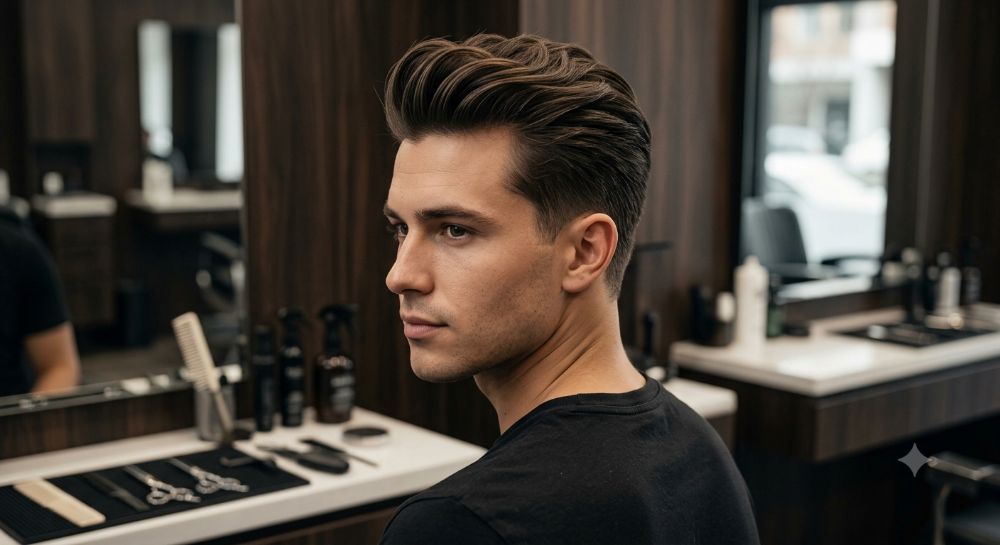
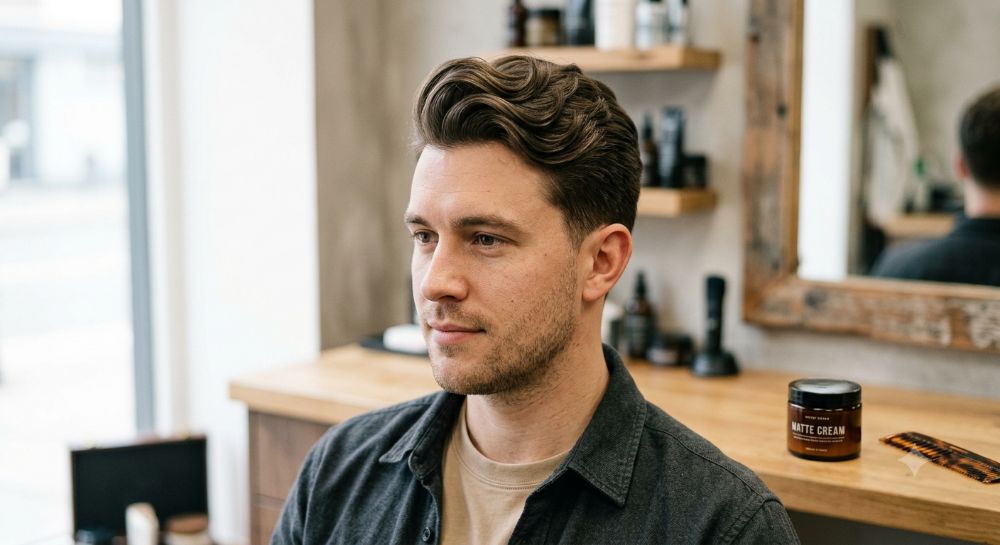
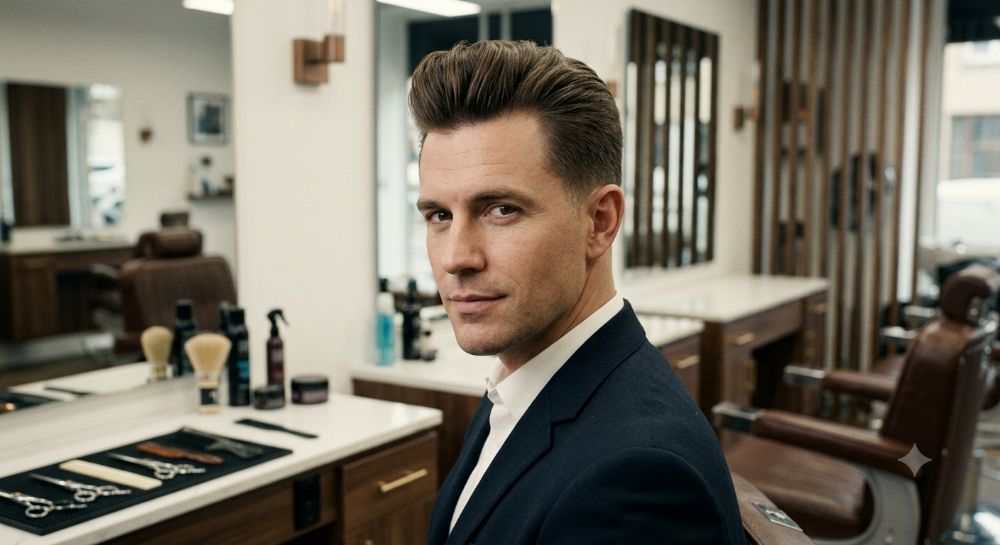
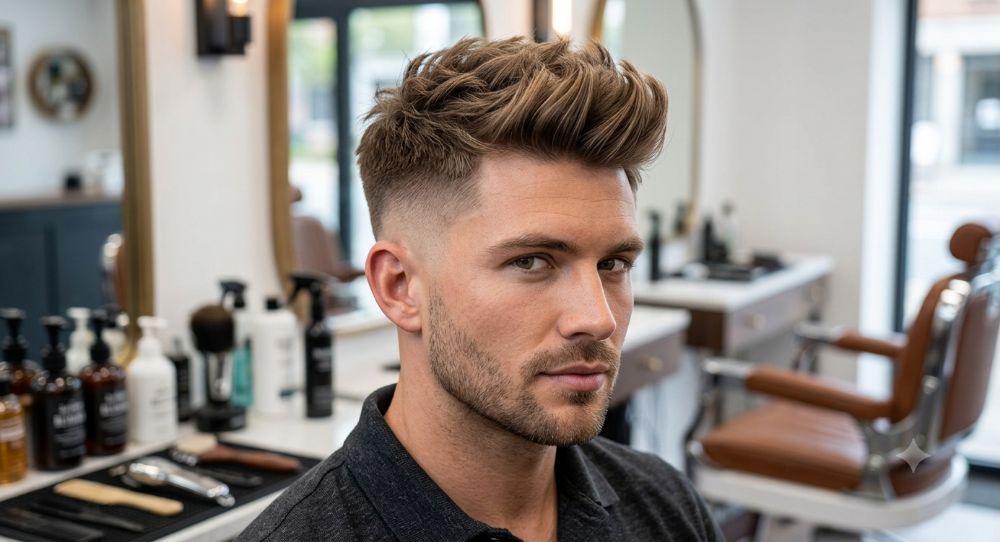
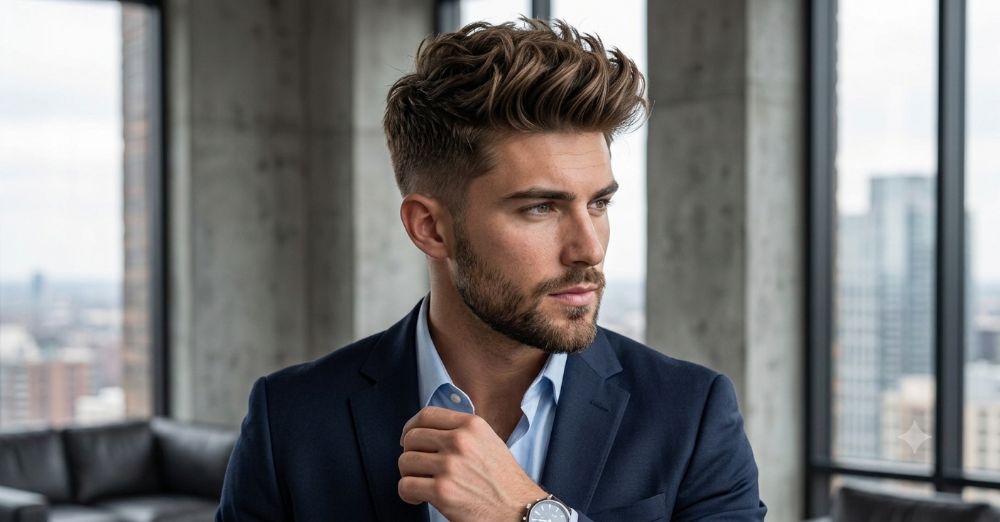
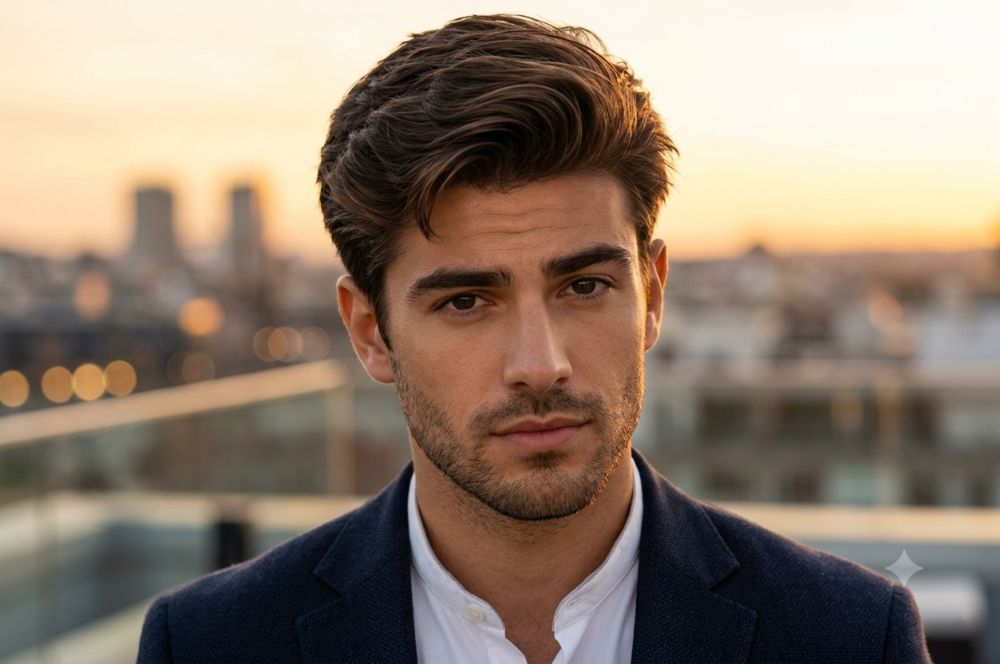
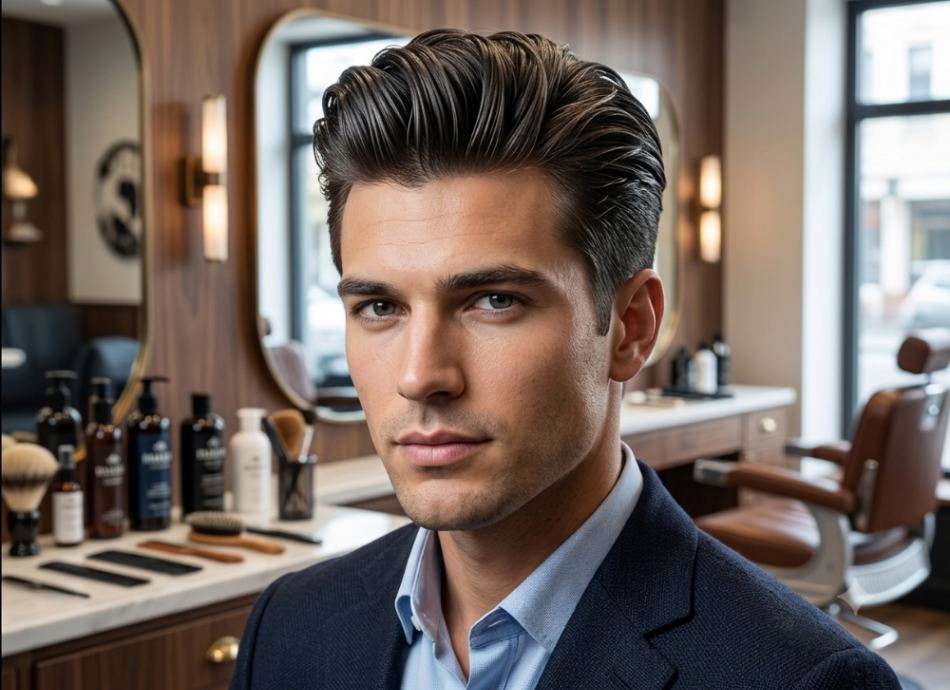
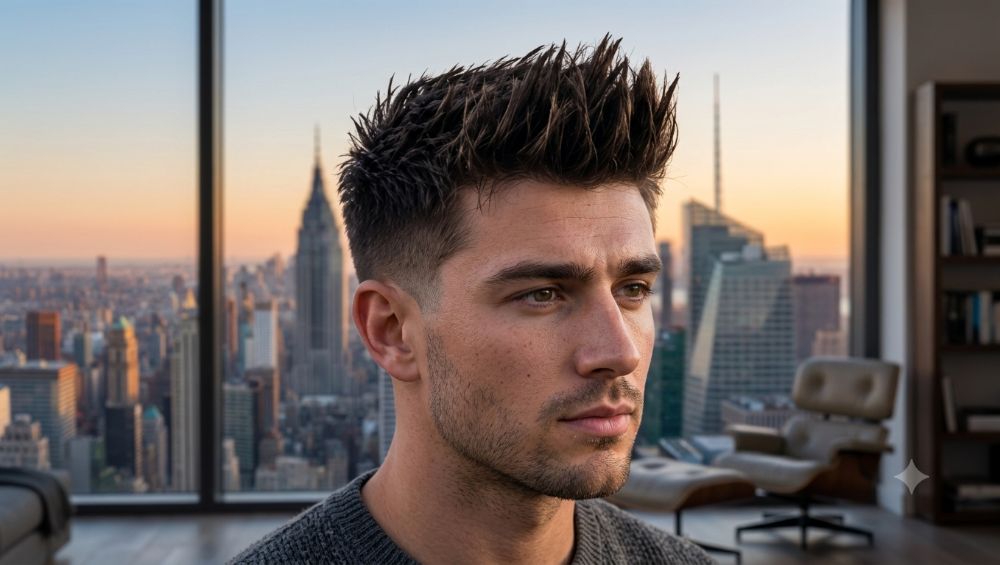
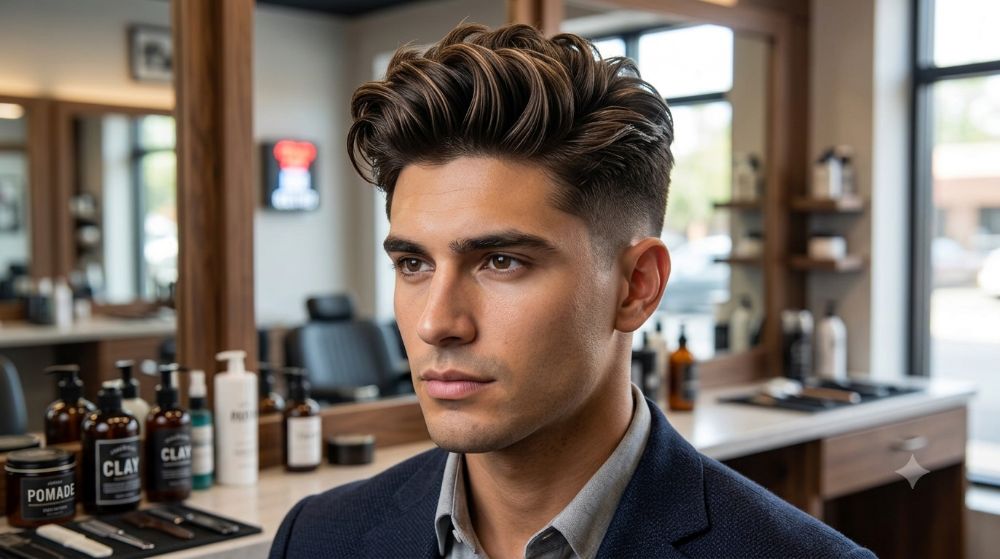
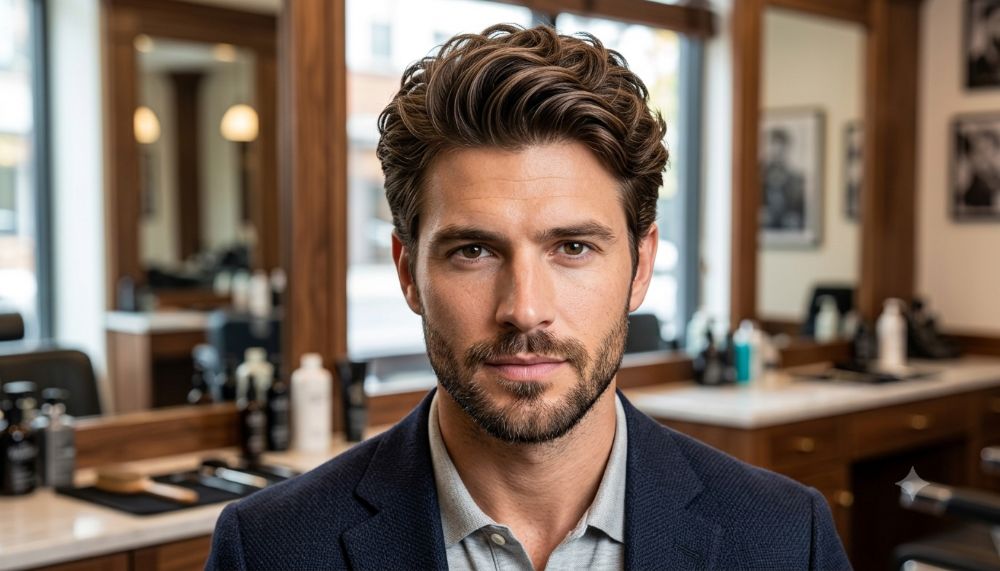
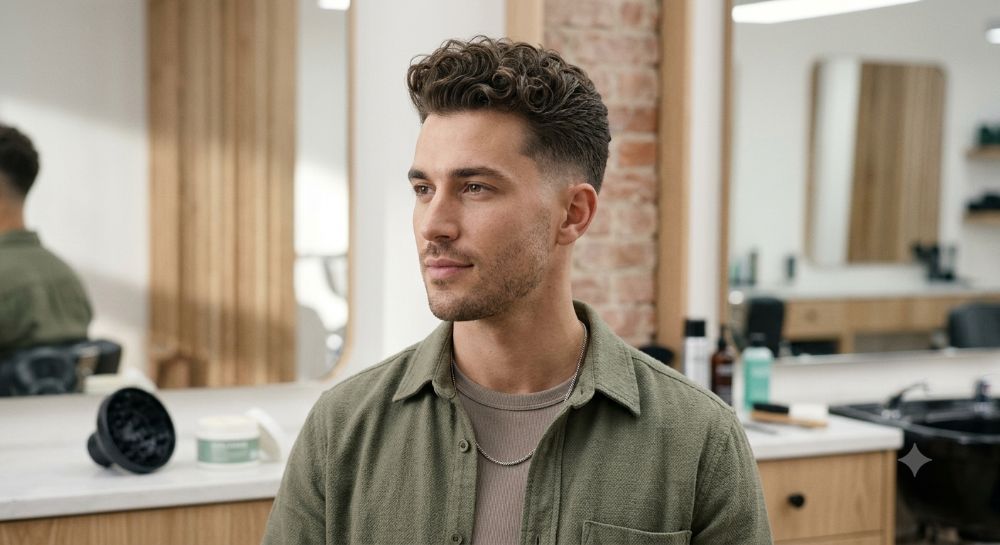
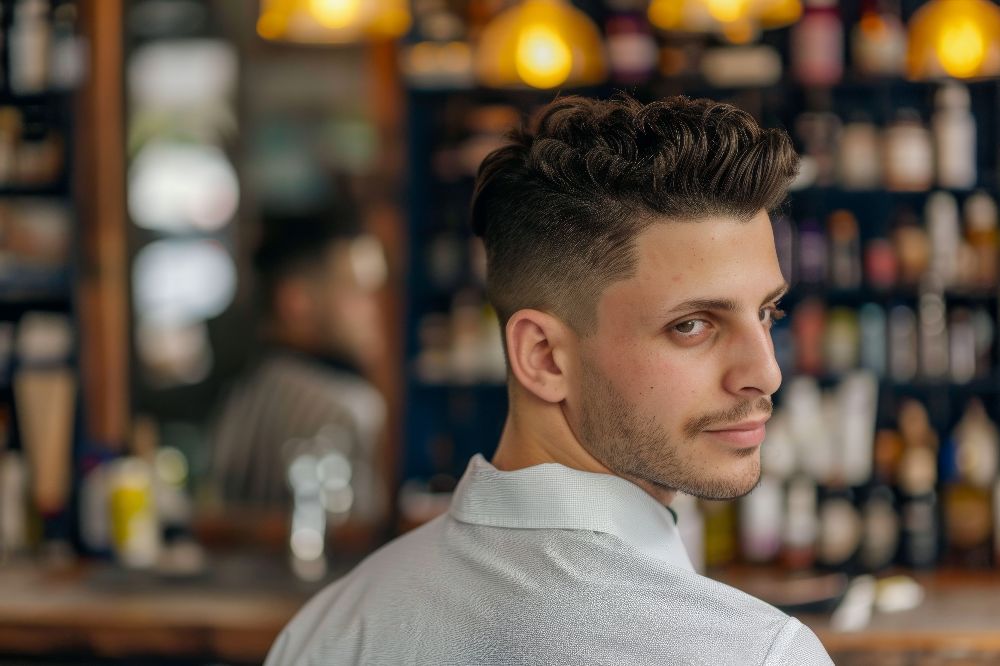
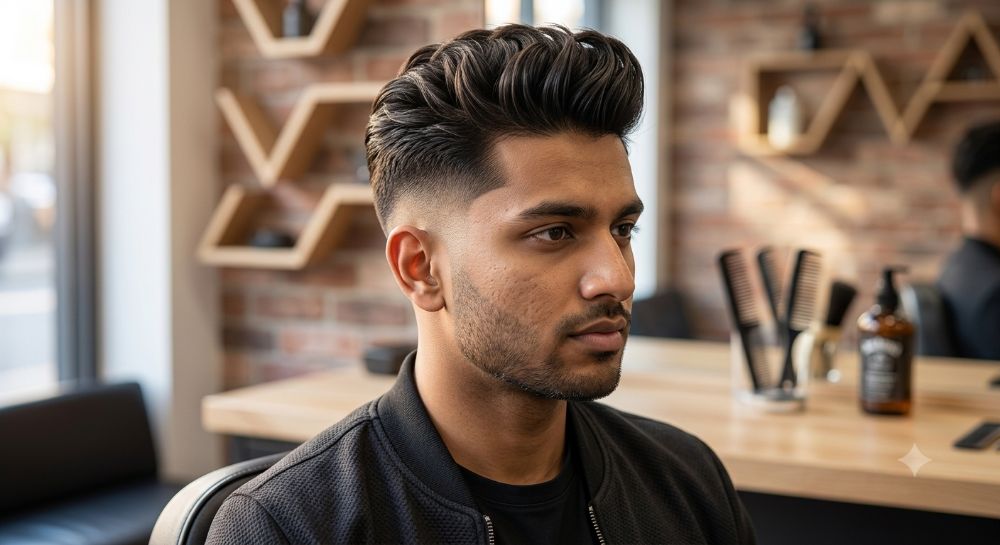
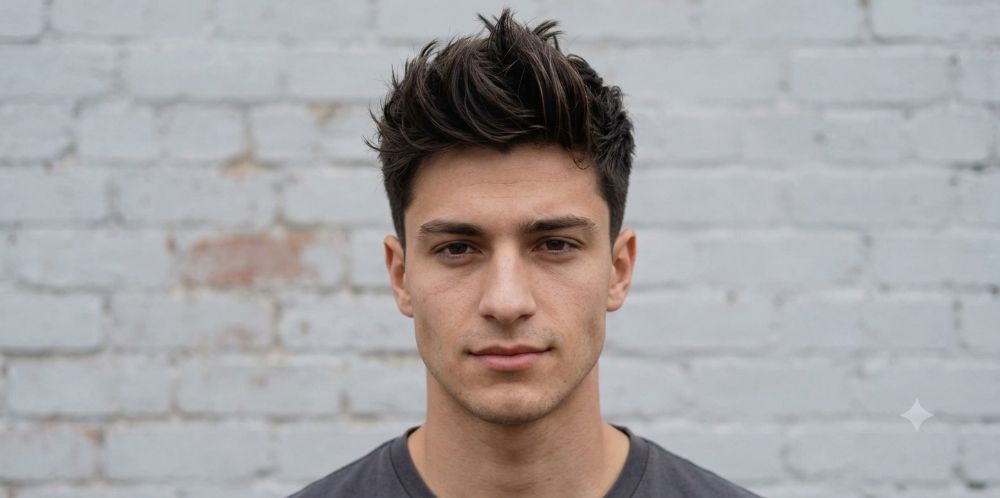
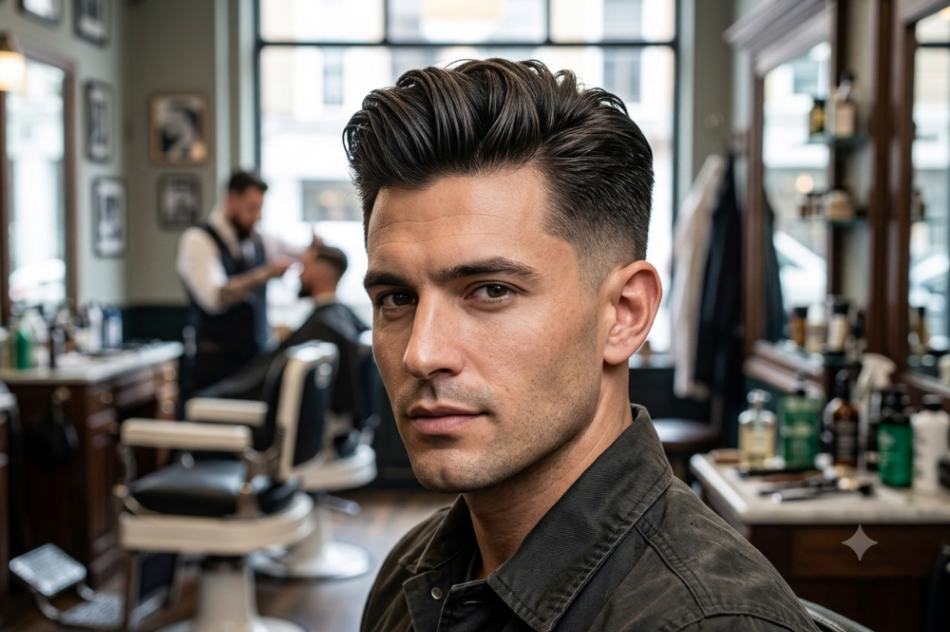
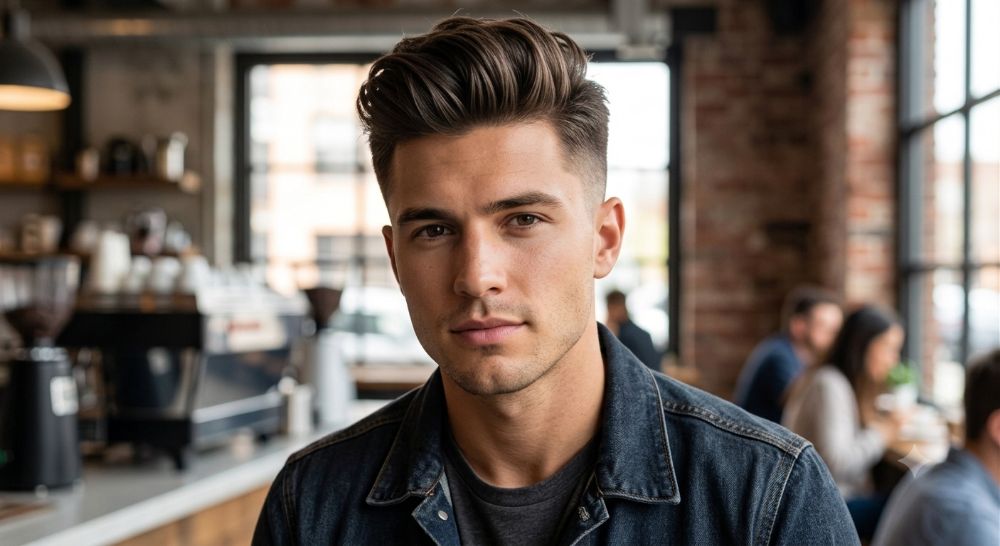
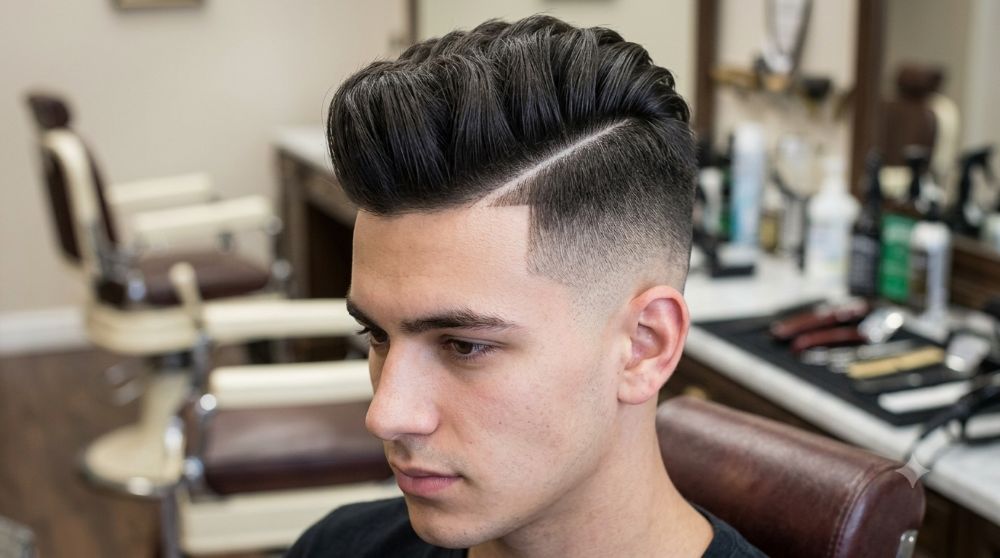
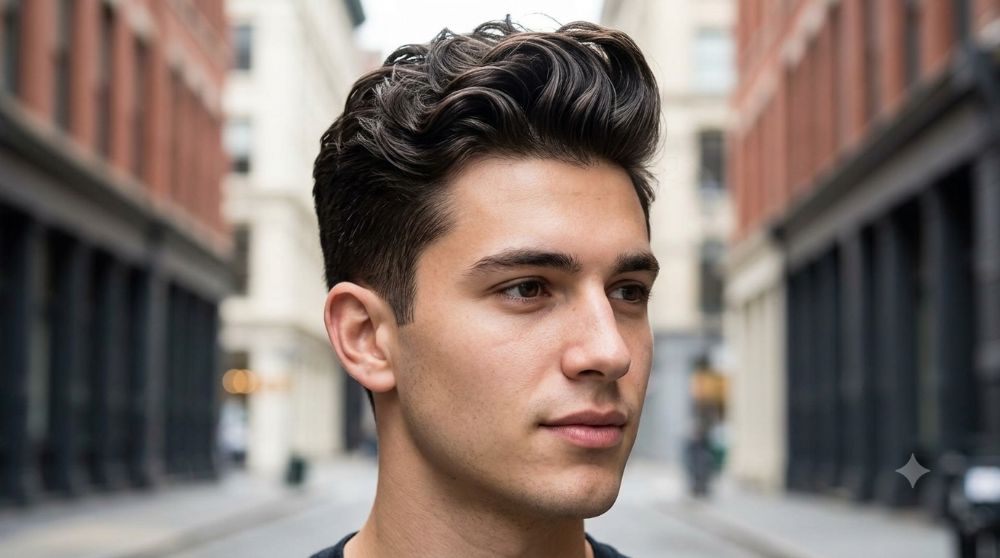
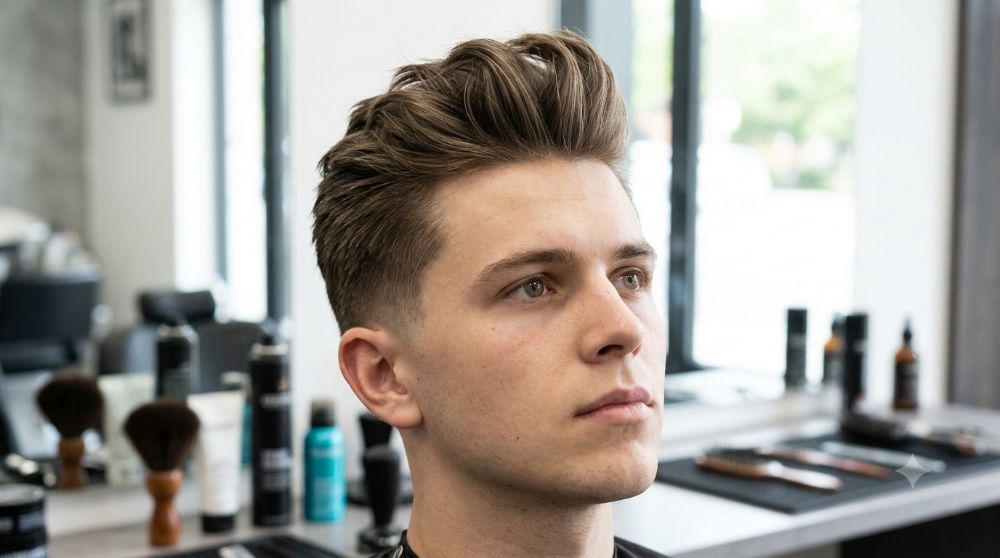
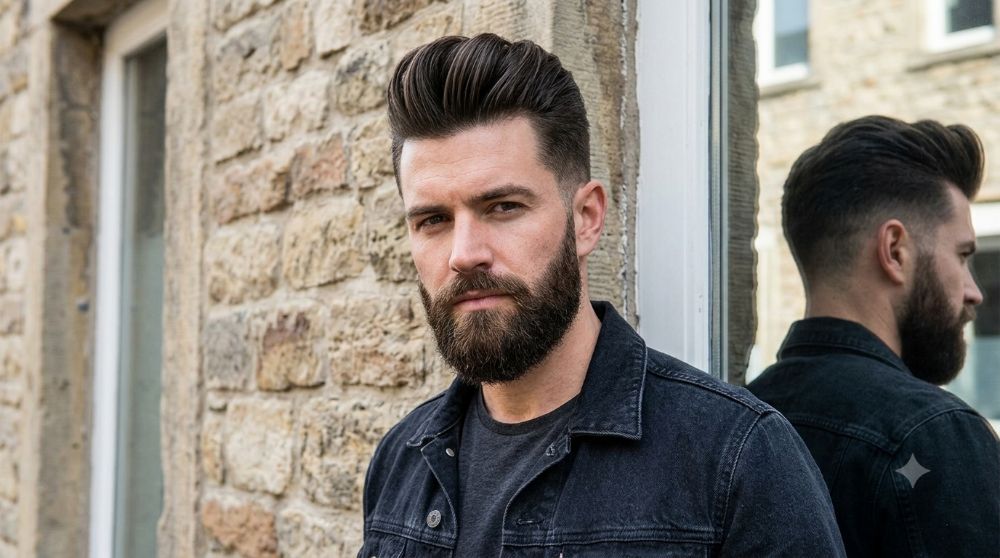
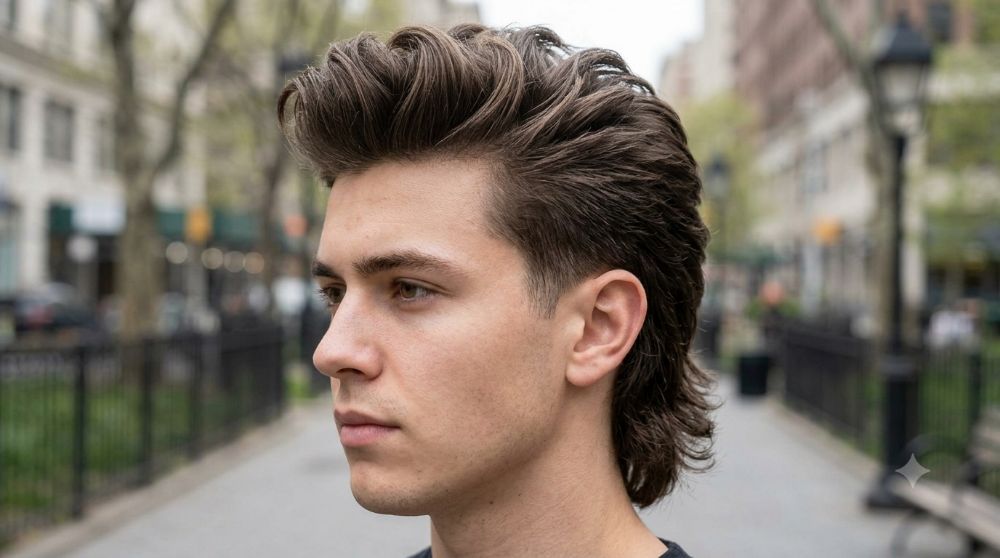
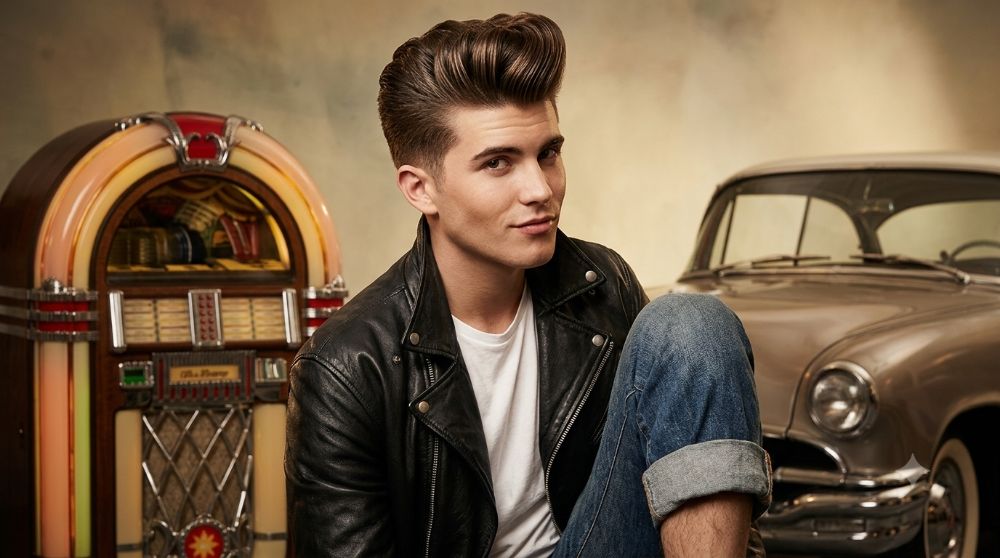
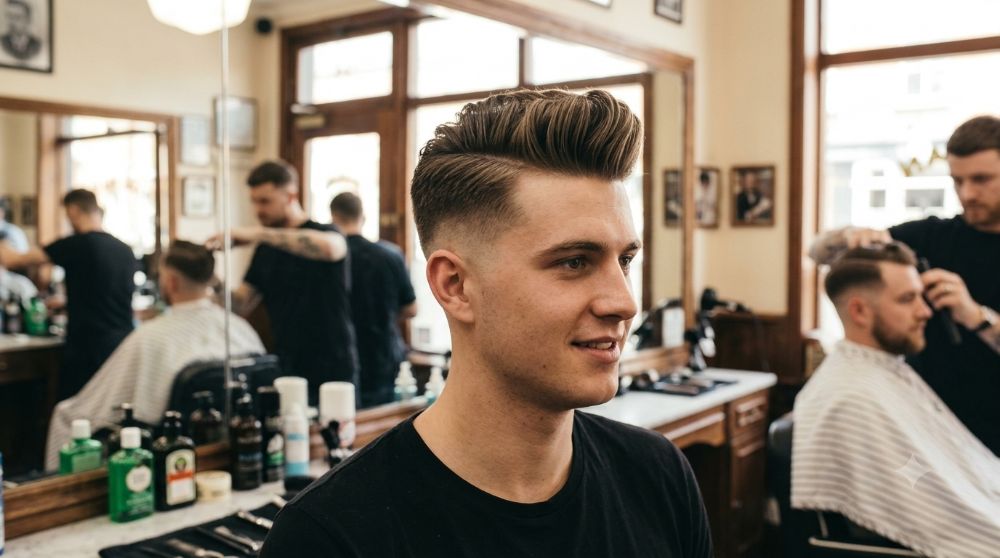
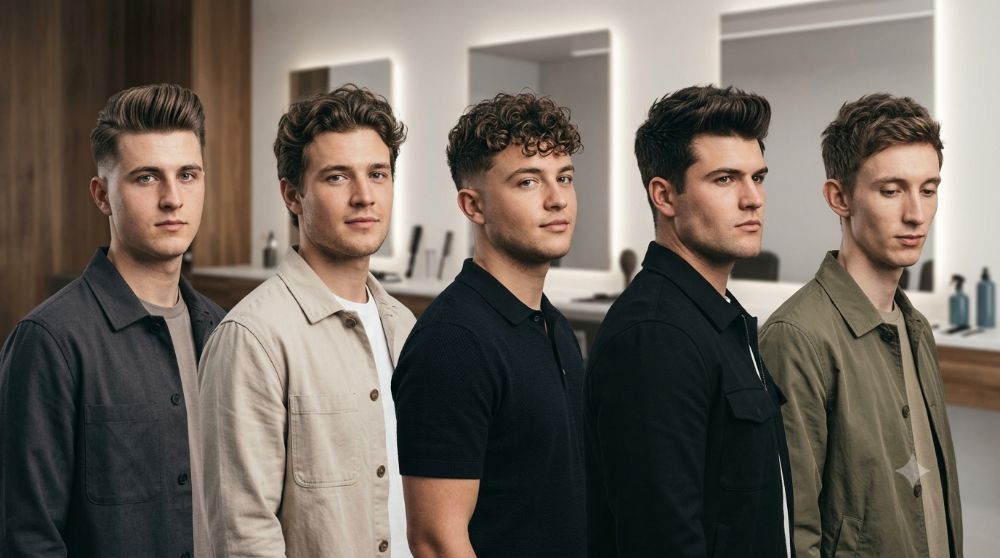
My theory on why the quiff has outlasted just about every trend since Elvis wore it: it’s basically a shape, not a fixed haircut. Short on the sides, longer up top, front pushed up and back — beyond that, you’re free to make it whatever you want. Tight and faded, it looks like it belongs on a stage. Soft and tapered, it’ll pass in a boardroom without anyone giving it a second look.
What follows is 43 takes on that shape, a rundown of how to match one to your hair and face, the specific language that gets a barber to actually understand what you want, a five-minute morning routine, and the errors that quietly wreck this haircut more than any other.
This guide covers what actually makes a cut “mod” versus mod-adjacent, walks through two dozen-plus variations, and gets into the stuff barbers wish clients knew before sitting in the chair — fringe length, product choice, how often to book a trim.
What a Quiff Actually Is
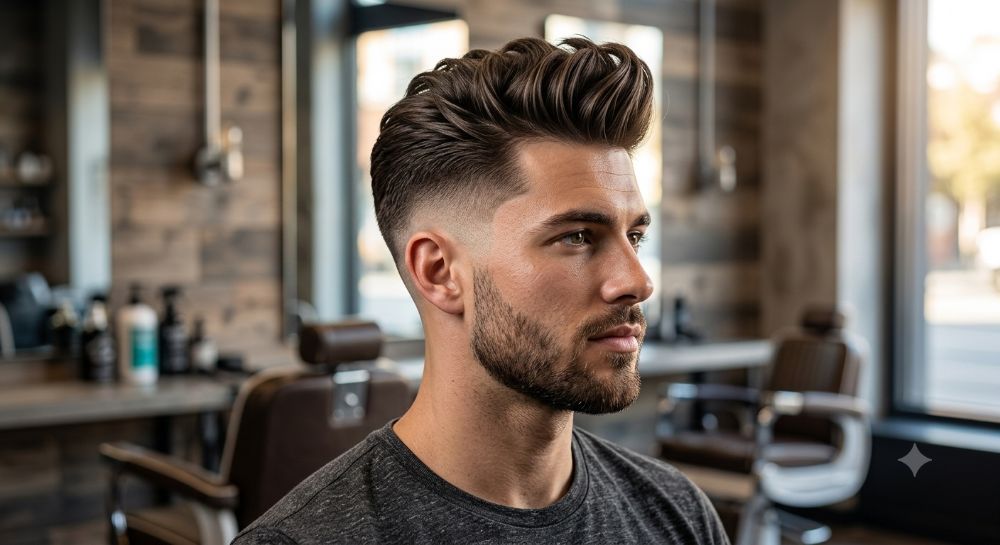
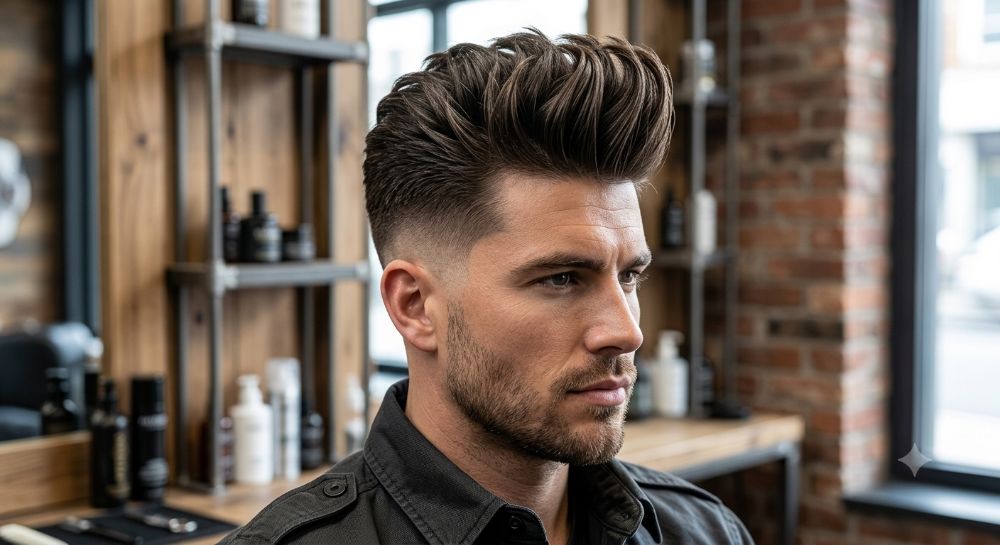
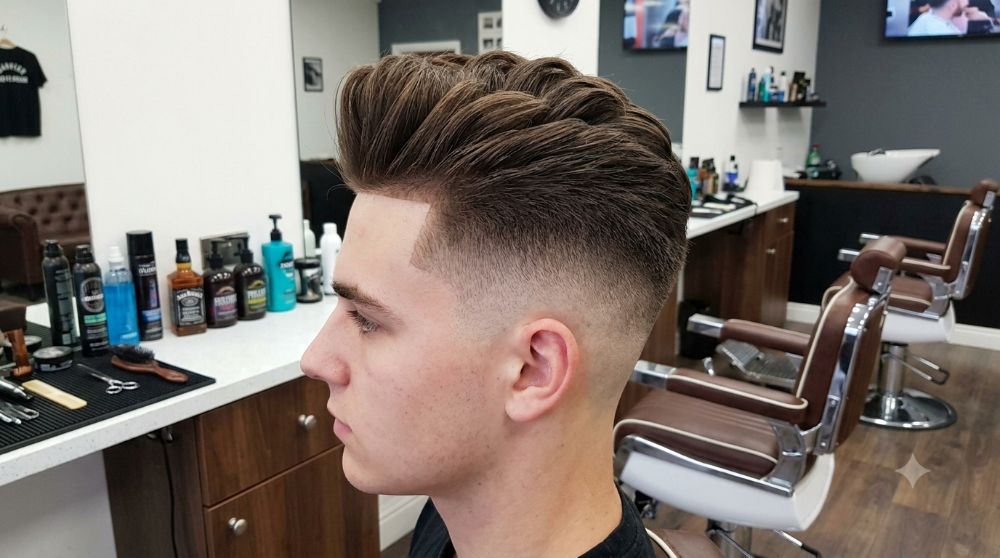
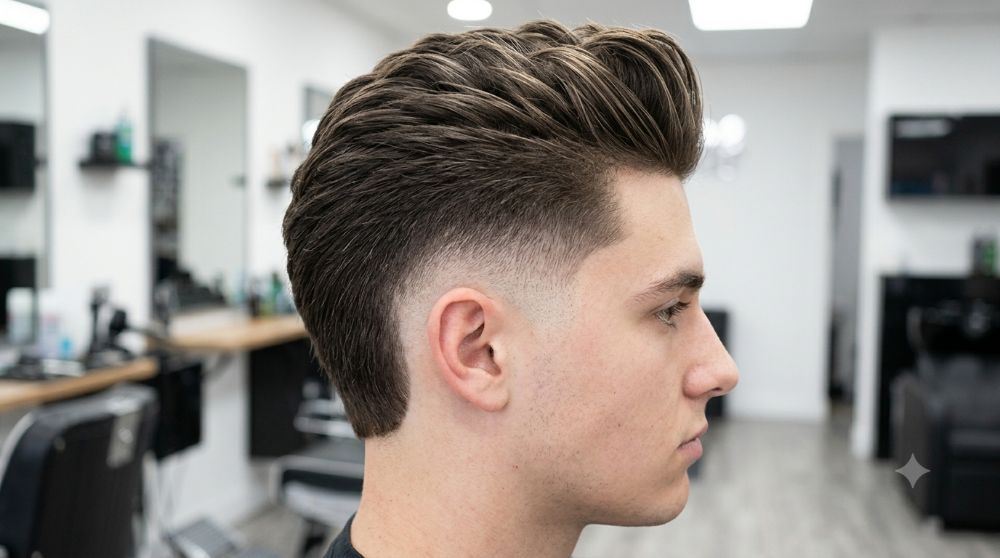
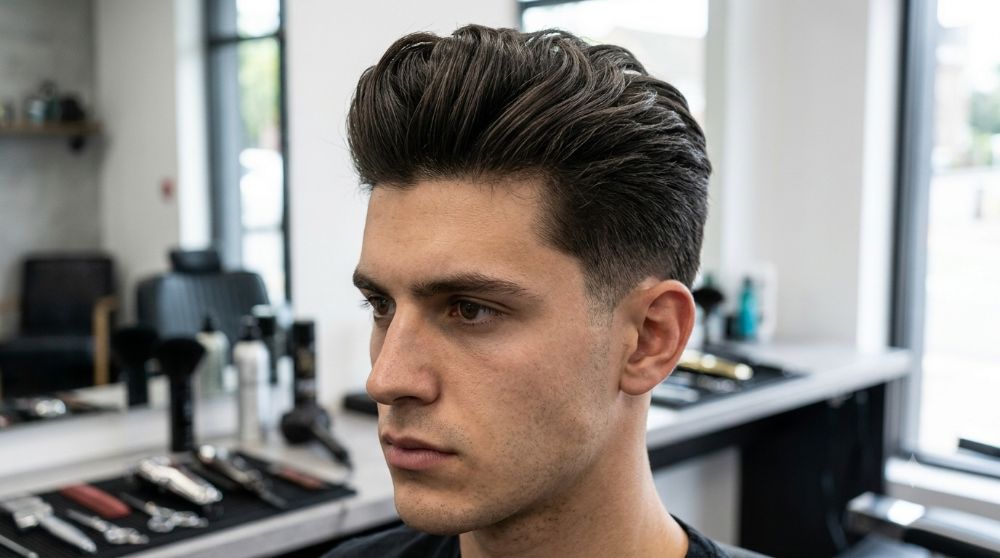
Strip away the variations and you’re left with three ingredients: short sides, a top left long — 3 to 5 inches is typical — and enough length up front to lift and push back. Take away that front lift and you don’t have a quiff anymore. You’ve just got long hair with nowhere to go.
I asked barber Sebastian Mondragon how he explains the difference between this and a pompadour to clients who mix the two up. His answer, more or less: a pompadour smooths the whole top into one continuous shape, while a quiff keeps its volume loaded at the front, with more air and texture built into it.
Length here is really a question of who you’re trying to look like that day. Keep it short and it reads efficient, barely-there effort. Grow it out with texture and it reads like you’ve got somewhere to be. The frame doesn’t change — what changes is the fade height and how many minutes you’re handing over each morning.
Where this cut usually goes wrong is proportion. Leave too much bulk on the sides and the top disappears under it. Cut the front too short and congratulations, you’ve got a crew cut instead. The barbers worth returning to actually look at your density and growth pattern before the clippers touch your head, rather than reaching for the same guard number on every guy who says the word “quiff.”
Once it’s cut, styling comes down to a blow-dry up and back, then something to hold the shape — clay for texture, cream if you want it softer, paste somewhere in between. Nobody tells you this part upfront, but the tallest version in the shop’s lookbook usually isn’t the best one on an actual head. The versions that work look almost unintentional.
A Little History
Two things happened around the same time after World War II: British Teddy Boys and American rockabilly kids both landed on rolling the front of their hair up and back. Whether that counted as fashion or protest depended on who you asked. Then Elvis and James Dean put the look on film, and for a decade of teenagers, that shape became shorthand for not wanting your father’s haircut.
It kept mutating instead of dying out. Psychobilly took it to cartoon heights in the ’80s. British indie rock sanded off the edges in the 2000s. By the 2010s, barbershops were pairing it with sharp fade work and matte finishes, and a look born out of rebellion started showing up on guys in suits. So when a client asks me for a quiff now, what they’re actually asking for is which era of this haircut they want to borrow.
43 Quiff Styles Worth Trying
High Fade Quiff
Take the fade line up near the parietal ridge and you get a hard edge between skin and volume — an optical trick that makes the top read taller than it is. Vent brush, lift the front slightly back, molding paste for hold with some give left in it. Heads up: fades cut this high need refreshing fast, so factor that into how often you’re back in the chair.
Textured Quiff
Point-cut layers pull weight out of the top so it lifts without a blow dryer doing all the heavy lifting. Sides stay short under a soft fade so nothing competes with the movement above it. Lift the roots by hand while drying upward, then a touch of matte clay. First appointment with a new barber? Ask for this one — it hides a rough styling day better than most.
Modern Quiff
Sides taper-faded, top brushed up thick and pushed slightly back. The bare skin underneath does half the work, tricking your eye into seeing more volume up top than there really is. Vent-brush blow-dry building height at the hairline, texture clay to finish. The cost of that sharp line: you’ll notice regrowth on the sides within a couple weeks.
Messy Quiff
The trick is making something deliberate look like an accident. Layers give the top natural lift, the faded sides keep it from tipping into actual sloppiness. Sea salt spray, dry while roughing the roots up with your fingers, a little clay to hold the separation. Four minutes start to finish, and somehow it reads like you didn’t try at all.
Quiff Fade
More of a category than a specific cut — this just means voluminous top, sides that blend gradually. The gradient is what gives the shape its sharpness. Dry for lift, shape with molding paste. Every entry below this one is really answering the same question: how low or high do you want that blend to start?
Short Quiff
All the height, none of the commitment. Crown and sides trimmed close, front left just long enough to have something to lift. Safest bet if your workplace has opinions about hair. Quick upward blow-dry, finger-shaped with a light clay.
Parted Quiff with Low Taper Fade
A clean side part meets a soft blend on the sides, lifted front tying it together. Shave the part in if you want it sharper, or leave it natural. Splits the difference when a full skin fade feels too aggressive for the room. Medium-hold pomade on damp hair, round-brush blow-dry, comb the part clean at the end.
Messy Textured Quiff with Tapered Sides
Choppy top, tapered sides keeping the whole thing from reading as chaos. Wavy or thick hair takes to this shape especially well. Matte clay worked through damp hair by hand, pushing the front in different directions instead of one uniform sweep.
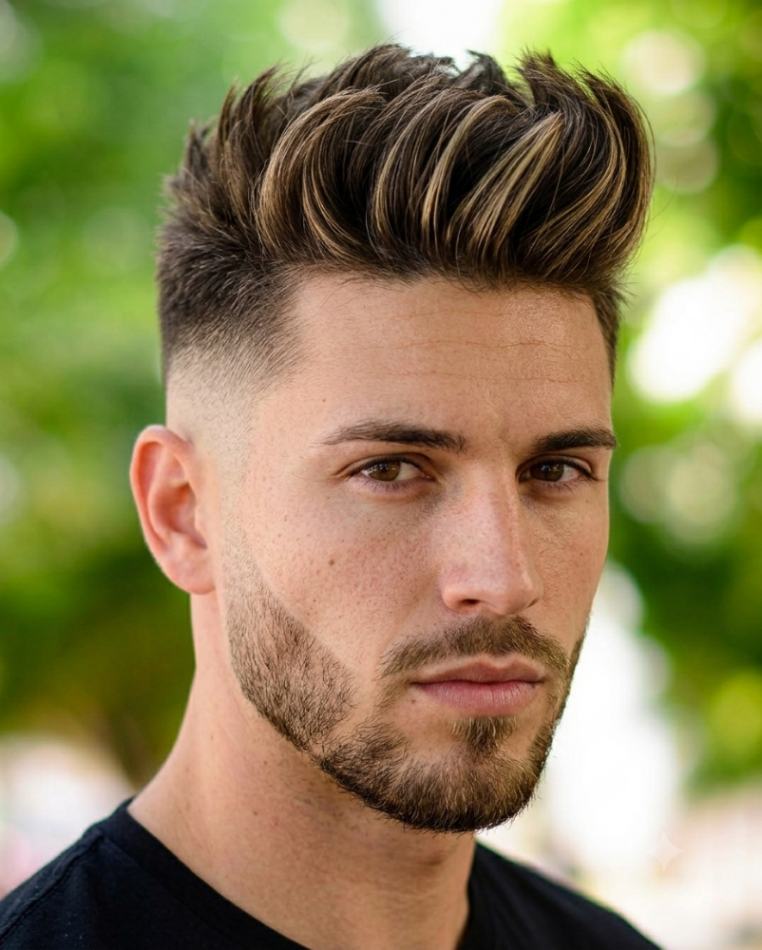
Edgy Quiff with Mid Skin Fade and Beard
Turn up the contrast: mid skin fade shows more skin than a standard fade, framing the lifted top harder, and a shaped beard adds weight at the jaw to keep the whole face balanced. Strong faces — angular jawlines, defined cheekbones — carry this especially well. Strong-hold matte paste, blow-dried up and slightly back, beard line kept crisp against the fade.
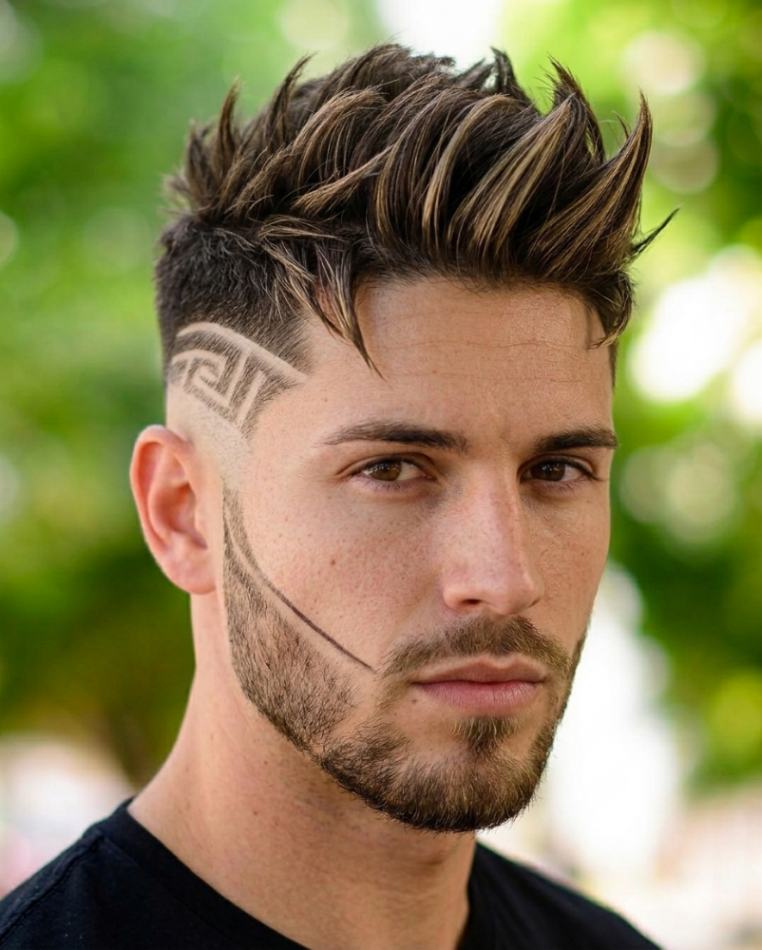
Spiky Quiff with Low Fade and Hair Design
Three elements at once: spiked front, blended sides, a shaved pattern somewhere in the mix — sometimes a simple line into the beard, sometimes something a lot more involved. Strong-hold gel to spike the front up. The design needs touching up roughly every two weeks, right alongside your fade maintenance.
Long Textured Quiff
More length on top than most versions here, swept up into something tall and full. Irregular, choppy layers stop the extra length from sitting flat under its own weight. Thick or wavy hair holds this shape best. Volumizing mousse, round-brush blow-dry, medium-hold pomade to finish.
Long Flowing Quiff with Tapered Sides
Where the last one is architectural, this is loose — hair swept up and back with real movement, sometimes settling off to one side instead of straight up. Tapered sides keep it balanced without needing a hard fade to look finished. High-hold clay, finger-dried for something softer than a brush produces.
Short Quiff with Low Skin Fade
Probably the quietest version on this list. Short top, just enough length up front for a subtle lift, low skin fade for contrast that doesn’t dominate the shape. Works in offices where a full pompadour would feel like too much. Small amount of matte clay, front lifted by hand.
Textured Quiff with Mid Fade and Line Up
Lifted front, sharp line-up framing the forehead, mid fade balancing everything on the sides. Needs decent density to hold the texture, so straight-to-wavy hair does it best. Matte paste, finger-styled forward and up. That line-up needs a refresh every two weeks or it stops reading as intentional.
Medium Quiff
More personality than a short quiff without the upkeep of a longer one. Front lifts and pushes back, crown tapers down gradually so it doesn’t collapse in on itself. Blow-dry while lifting the roots, styling cream to finish.
Long Quiff
Serious height, low tapered sides anchoring it all. Skip the blow dryer here and the length just falls forward instead of standing — this isn’t an optional step for this particular version. Round-brush blow-dry, section by section, styling cream, a pinch of texture powder at the roots if it still needs more lift.
Soft Quiff
Short, clean sides under a top that bends into a gentle wave rather than a sharp peak. Light layering keeps it full without adding bulk. Finger-dried while lifting, a small amount of styling cream. Want the shape without the volume shouting about itself? Start here.
Classic Quiff
Height up front, restraint everywhere else. Longer through the fringe, gradually shorter toward the crown. Scissor-cut sides soften it, a fade sharpens it — either works. Round-brush blow-dry, then pomade for shine or matte paste if you’d rather have texture.
Loose Quiff
High volume up front kept relaxed, faded sides holding it in place. Length stays long enough to move instead of sitting frozen in one shape. Sea salt spray, vented-brush blow-dry, light cream so it holds without weighing down.
Forward Quiff
Pushes hair toward the forehead before lifting it, giving you more movement over the front than a classic quiff allows. Straight, thick, or slightly wavy hair handles this best. Sea salt spray or mousse, blow-dried forward and up, matte clay for separation.
Side Swept Quiff
Combs the volume off to one side instead of straight back — the more diplomatic version of this cut. Equally at home at a wedding or a Tuesday commute. Vent-brush blow-dry directing hair up and across, light cream for a subtle shine.
Slick Back Quiff
Splits the difference between vintage polish and modern volume — swept back with lift at the front and a slight wave through the length. More height than a straight slick back, more restraint than a textured quiff. Backward blow-dry with a vent brush, medium-hold paste with a hint of shine. One exception on this whole list: full matte actually undersells this particular version.
Spiky Quiff
Defined, separated spikes concentrated up front, faded sides keeping the outline sharp. It sits close to other spiky hairstyles in spirit, but what makes this version different technically is that the hair’s shaped into individual pieces rather than one rolled mass. Finger-dried upward, strong-hold clay pinched into small sections.
Mid Taper Quiff
The blend starts around the middle of the ear — somewhere between a subtle low taper and a real fade. Top stays thick throughout. Finger-dried while lifting, styling cream to keep things soft. Good landing spot if fades feel too loud and low tapers feel too quiet for what you want.
Layered Quiff
Strategic cutting through the top removes weight without sacrificing lift. Front stays long enough to sweep, crown layers keep the bulk in check. Point-cut texture on top, clean taper or fade below it. Blow-dry up and back, matte clay or paste to finish.
Curly Quiff
Natural curl does the lifting that straight hair fakes with a blow dryer — the lowest-effort entry on this whole list, frankly. Short sides under a fade or taper so the curl pattern reads as intentional shape rather than just untamed length. Diffuser on low heat, curl cream to define. Go light on both product and heat, since the curl’s already giving you volume for free. And don’t brush it out afterward — that’s the one rule.
Low Fade Quiff
Fade sits just above the ears and along the neckline. Subtle, nothing loud about it — one of the more forgiving low fade haircut placements you can ask for in a conservative office. Blow-dry up and back, styling cream. Grows out more gracefully than a higher fade too, which buys you an extra week before it needs redoing.
Mid Fade Quiff
Starts around the temples — enough contrast to sharpen the profile without pushing into bold territory. There’s a reason the mid fade haircut has become the standard order in most shops. Vent-brush blow-dry, light paste or cream for hold.
Drop Fade Quiff
Follows the natural curve of your skull, dipping lower behind the ear before blending into the neckline. Reads cleaner from the side and back than a dead-straight fade line tends to. Finger-dried while lifting, styling cream. Worth requesting specifically if standard fades have looked uneven on you before.
Pompadour Quiff
Something of a hybrid — pompadour height, quiff texture. Sides fade smoothly into a tall top, but the front keeps visible separation rather than one smoothed-down surface. Round-brush blow-dry rolling the front up and back, styling cream for hold, a small amount of pomade up front for structure.
Skin Fade Quiff
Sides go all the way down to bare skin — nothing sharper than this on the whole list. Freshly done, it’s unbeatable. The honest tradeoff: skin fades blur within two to three weeks, so you’re committing to a maintenance schedule whether you planned to or not. Sea salt spray, blow-dried up, styling cream to close it out.
Burst Fade Quiff
The fade arcs around the ear in a semicircle rather than running straight, so the neckline stays fuller while the area above the ear drops to skin. A detail most fade placements skip entirely. Sea salt spray for volume, molding paste to define the front. Confirm your barber’s comfortable with the technique before you assume — plenty aren’t.
Taper Quiff
Scissors and clippers instead of a hard fade, which leaves considerably more length on the sides. Softer, more old-school finish, and easily the lowest-maintenance option here — 4 to 6 weeks between visits without losing shape. Blow-dry up and back, styling cream, texture powder at the roots for extra lift if needed.
Low Taper Quiff
Soft transition around the ears and neckline, controlled volume up front. It’s one of the more forgiving low taper fade options as it grows out, since it holds up better than a hard fade line would. Good option if you want height without any real boldness attached to it. Front blow-dried up and back, matte paste or cream to finish.
Quiff Undercut
Sides cut short with no gradual blend into the top — that abrupt line is what makes the height look sharper and more deliberate than a faded version does. Straight, wavy, or thick hair that already holds volume works best here. Blow-dry up and slightly back, strong matte clay for separation.
Hard Part Quiff
Takes the side-part idea and adds an actual razor-shaved line into the scalp. Blow-dry up and over from that line, pomade for shine or paste if you want matte instead. One thing to know going in: that line fades as your hair grows, so it needs touching up every couple weeks or it starts looking accidental instead of designed.
Wavy Quiff
Soft, tousled waves supply the texture, clean faded sides keep the outline from getting lost in it. The natural bend builds body without much effort on your part. Vent-brush blow-dry lifting without flattening the wave, molding paste. Go easy on product — too much and you drag the wave straight out along with the free volume it was giving you.
Thick Hair Quiff
Internal layering strips weight so density lifts instead of collapsing under itself. Thick hair has the raw material for a great quiff built in, but leave it uncut and that bulk fights the shape the whole way. Thinning shears through the interior, surface length left alone. Matte clay grips denser hair better than cream ever will.
Quiff For Fine Hair
Shorter and denser than most versions, cropped enough that it holds itself up rather than folding. Texture powder at the roots plus a volumizing blow-dry manufacture fullness fine hair doesn’t naturally have. Skip heavy pomades entirely — on fine hair they separate strands into strings and expose scalp underneath. Blow-dried upward, texture powder dusted in, finished with the lightest touch of paste you can manage.
Quiff With Beard
Volume up top framed by a full, shaped beard on the other end. Balance is the whole game here — a tall quiff over patchy stubble looks just as wrong as a heavy beard under a modest quiff. Blow-dry up and back, styling cream, beard oil to keep things conditioned. Get both done in the same visit so they’re actually cut to complement each other.
Quiff Mullet
Lifted front running straight into textured length in back — two haircuts sharing more attitude than most combinations manage. Front behaves like a standard quiff, back flows past the collar, tapered sides holding it all together. Blow-dry the front for lift, cream through the rest for movement.
Rockabilly Quiff
The original, more or less. High, rolled front, sides slicked flat, and shine with zero apology to it — straight out of the 1950s. Where nearly everything else in this list chases a matte finish, this one wants gloss and sculpted structure instead. Traditional pomade through towel-dried hair, comb up and back while rolling the front over itself to build the wave. Sides stay flat and tight.
Side Part Quiff
A defined part gives the volume actual architecture instead of just height. The lift starts from one side rather than the center. Blow-dry along the part, lift the heavier side up and over, pomade to keep the line sharp through the day.
Picking Yours
Straight hair holds a shape once you’ve built the lift with a blow dryer and product, but it won’t get there on its own — no shortcuts. Wavy hair is the easy version of this whole exercise; the natural bend does most of the work for you. Curly hair suits shorter, shaped cuts styled with curl cream and a diffuser rather than fought into something it isn’t. Thick hair needs the weight taken out from the inside so it lifts instead of sitting heavy. Fine hair does best kept short, leaning on texture powder and matte products to fake what it can’t produce on its own.
Face shape matters too, if less dramatically. Round faces gain real length from the added height. Oval faces can wear nearly anything on this list without adjustment. Square faces look better with something softer and more textured, easing off the hard angles rather than emphasizing them. Longer faces should keep the height modest and hold onto some width on the sides so nothing stretches further than it already is.
How to Actually Ask Your Barber
One line does most of the work: “Longer on top, shorter on the sides, enough length at the front to push up and back.” Then hand over three specifics — top length in inches, side treatment, and finish. Something like “three inches on top, mid fade, textured finish” tells a barber everything they need in under ten words. Vague requests like “kind of voluminous” just leave them guessing, and guessing tends to be where a haircut falls apart.
Use actual terminology while you’re there — textured quiff, short quiff, quiff with a mid fade. Specify low, mid, high, or skin if you want a fade, or ask for a taper if you’d rather skip fading entirely. Mention whether you plan to style with matte or shine too, since it changes how they cut it in the first place: matte wants choppier layering underneath, shine wants a smoother surface to work with.
Photos help more than people expect, especially a side profile shot. When I asked Mondragon about this, he made a point I hadn’t considered before: a front-on photo only shows you the finished look, but the side angle is where a barber can actually read the lift, the fade height, and how much length needs to survive at the front. I’ve watched consultations stall out more than once because someone only brought front-facing pictures that hid exactly the information the barber needed.
If your hair’s currently short, say that upfront — you’re growing toward a quiff, not expecting one in a single visit. Getting there properly is usually a two-appointment process. The first sets the structure while the top’s still growing in, the second finishes the cut once the front’s reached 3 inches or so. Planned this way, you get a noticeably better result than trying to rush short hair into a shape it isn’t ready for.
Styling It Yourself
This isn’t a haircut you fake with product — it’s built fresh most mornings. Once it’s second nature, the whole process runs 5 to 7 minutes.
Begin with damp hair. Volumizing shampoo if yours runs fine or flat, towel-dried until damp rather than soaked. Damp hair responds to a blow dryer and holds the direction you give it; soaking wet hair just gets pushed around without much cooperation.
Next, a pre-styler — sea salt spray or a light mousse worked through evenly. This is what gives the volume something to grip onto once the day gets going.
Then the blow-dry, which is really where the haircut gets made or lost. Vent or round brush, lift at the roots, direct the air up and back, and save the front for last since it’s carrying the most weight visually. A few seconds of cool air at the end sets the shape. If you take one thing from this whole guide, make it this: skipping the blow-dry is the number one reason a home-styled quiff collapses before lunch. Product can hold a shape. It can’t manufacture one from nothing.
Once the structure’s set, shape the front — fingers for texture, a comb if you want it polished instead. Keep it lower and swept for work, taller and looser for anywhere else.
Finish with product, warmed between your palms first, worked from the back toward the front so the hairline gets the lightest touch of all. Clay for matte, paste for flexible hold, pomade if shine’s the goal. A light pass of hairspray at the very end is cheap insurance if the day’s going to run long.
Mistakes I See Constantly
Skipping the blow-dry tops the list, again, because it’s genuinely the most common issue I run into. No clay on the market rescues hair that was never trained to lift in the first place — the dryer does the actual building, product just maintains what’s already there.
Overusing product is close behind. Weight and height work against each other, always. Start with less than feels right and only add more if it’s genuinely falling short. Adding is easy. Taking it back out once it’s in there is not.
Mondragon had a useful way of putting this: when a quiff keeps collapsing, more clay usually isn’t the answer. He’d rather check the drying technique first, then how much weight was left in during the cut, then whether the product got worked too heavily into the roots — clay’s the last thing he’d reach for.
Letting the sides grow out unchecked ruins the whole point of the cut. The shape depends entirely on the contrast between short sides and a lifted top, and three untouched weeks quietly erase that contrast into something forgettable. Watch the mirror instead of a calendar reminder — book the trim once the line starts going soft, not on some arbitrary fixed schedule.
Using the wrong product for your hair type causes more damage than people realize. Heavy shine pomade on fine hair separates it into visible strings and shows scalp. Light cream on thick, coarse hair taps out by lunchtime. Match the product’s weight to how dense your actual hair is, not to whatever’s trending.
Growing everything out evenly before asking for a quiff is a common setup for disappointment. This cut needs graduated length — longer at the hairline, shorter moving back toward the crown — not a uniform five inches across the whole head. Guys who show up with even length usually need more taken off than they expect, because uniform length just refuses to lift the way this shape requires.
Keeping It Looking Right
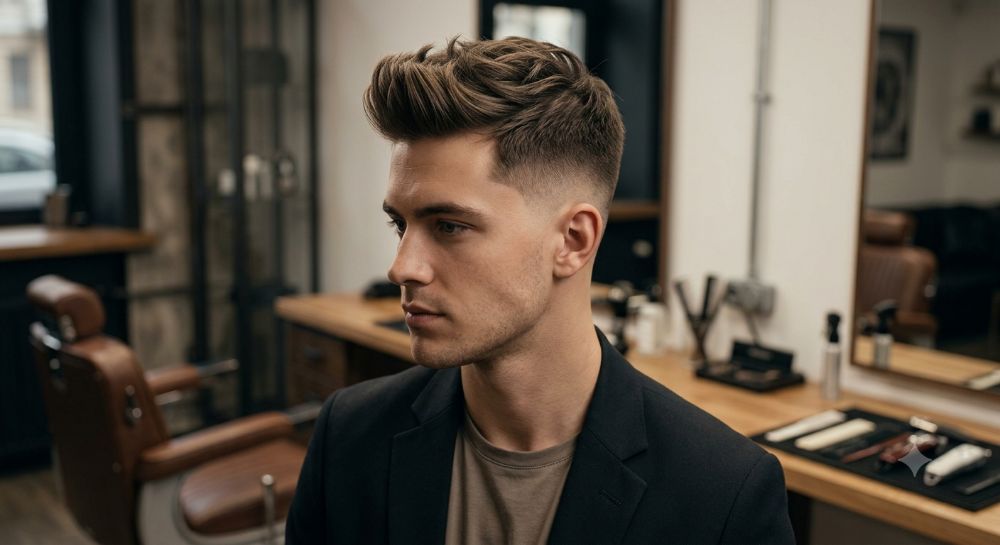
Hold to a trim schedule. Faded versions need attention every 3 to 4 weeks; tapered versions can stretch out to 4 to 6. The sides dictate that timeline, not the top, since they’re doing the structural work that makes the whole cut read correctly.
Wash with some restraint — two to three times a week keeps the natural oils that actually help hair hold a shape. A clarifying wash every week or two clears out product buildup that would otherwise deaden the volume. Daily washing works against you here; stripped-clean hair turns slippery and won’t hold height nearly as well.
Look after the volume itself between cuts. A lightweight conditioner so moisture doesn’t flatten the top. A few drops of argan oil through the mid-lengths weekly if dryness or frizz starts creeping in. Blow-drying every day calls for a heat protectant spray — cheap insurance against hair that eventually just stops cooperating altogether.
Questions People Actually Ask
What is a quiff haircut? Short sides, a longer top — typically 3 to 5 inches — styled up and back for height. The lifted, textured front is the defining feature, and it’s what separates this from a pompadour or a plain slick back.
How long does my hair need to be? 3 to 5 inches on top covers the standard version; 2 to 3 inches is the floor for something shorter. The front matters most, since it’s carrying all the lift. Sides can run anywhere from bare skin to a light taper.
What’s the difference between a quiff and a pompadour? A quiff keeps its texture and volume loaded at the front with a relaxed finish. A pompadour sweeps the entire top back into one sleek, uniform shape. Think casual versus dressed-up.
Is a quiff good for thin or fine hair? Yes, with a couple tweaks. Keep the top shorter — 2 to 3 inches — rely on texture powder at the roots, and stay in matte products. Steer clear of heavy shine pomades; they separate fine strands visibly and make hair read thinner than it is.
Is it professional enough for the office? In its short, tapered, or soft forms, absolutely. A short quiff paired with a low taper fits most conservative dress codes without raising an eyebrow.
Is a quiff high maintenance? Somewhat. Budget a 3-to-5-minute blow-dry most mornings and a trim every 3 to 6 weeks, depending on whether you’re running a fade or a taper on the sides.
How do I ask my barber for one? Give three details: top length in inches, side treatment (taper, or low/mid/high/skin fade), and finish (textured or clean). A side-profile reference photo does more good than a front-facing one.
Can I get a quiff with curly hair? Yes — curly hair actually suits shorter, shaped versions especially well, since the natural texture supplies most of the volume itself. Diffuse on low heat, define with curl cream, and don’t brush it out.
What products work best? A pre-styler like sea salt spray, followed by a blow-dry, sets the foundation. From there: clay for matte texture, paste for flexible hold, pomade for shine. Fine hair leans on texture powder at the roots; thick hair holds up best under stronger matte clays.
How do I add more volume? Blow-dry with the airflow directed at the roots while lifting with a brush or your fingers, add a pinch of texture powder up front, and use less product than feels natural at first. A volumizing shampoo helps if your hair runs fine or flat to start.
What’s the difference between a quiff and a faux hawk? A quiff concentrates its lift at the front hairline and sweeps it back from there. A faux hawk runs its lift as a strip from forehead all the way to the crown. One’s a peak up front; the other’s a ridge across the whole head.